
Choosing custom window treatments is an opportunity to improve the comfort, privacy, light control, energy efficiency, and appearance of your home or business. Although selecting the right blinds, shades, drapery, shutters, or motorized products is an important part of the process, professional installation is what brings the entire project together.
Proper installation helps custom window treatments fit correctly, operate smoothly, and deliver the performance you expected when you selected them. It also protects the products from avoidable damage and ensures that important details—such as alignment, mounting depth, hardware placement, and motorized controls—are handled carefully.
If you are planning a window treatment project, knowing what to expect during professional window treatment installation in Manhasset can make installation day feel simple and organized. Here is a detailed look at the professional installation process, from the initial consultation and measurements to the final product demonstration.
Professional Installation Begins Before Installation Day
A successful installation starts well before an installer arrives with your finished window treatments. The decisions made during the consultation and measuring stages determine how well the products will fit and function.
Custom window treatments are manufactured for specific windows. Even windows that appear to be identical can have small differences in width, height, depth, or shape. Professional measuring helps account for those variations so that each treatment is ordered for its intended location.
Before placing the order, your window treatment specialist will also consider factors such as:
- Whether the product will be mounted inside or outside the window opening
- The available mounting depth
- Window handles, locks, and other possible obstructions
- The direction in which doors or windows open
- The placement of trim and molding
- Furniture or fixtures positioned near the window
- The desired level of privacy and light control
- The location of electrical power for motorized products
- The weight and operating requirements of the selected treatment
These details help prevent surprises when the products are ready to be installed.
The In-Home Consultation and Product Selection
The process typically begins with an in-home consultation. This gives you the opportunity to view materials, colors, textures, and operating systems in the room where the treatments will actually be used.
Lighting conditions can affect how a fabric or finish looks. A shade fabric that appears one way under showroom lighting may look different beside a sunlit window. Seeing samples in your own home allows you to consider how they coordinate with the room throughout the day.
Your specialist will also ask how you use the room and what you want the window treatments to accomplish. For example, the best treatment for a bright living room may differ from the best option for a bedroom that needs room-darkening performance.
During the consultation, you may discuss:
- Privacy during the day and at night
- Glare reduction
- UV protection
- Heat control and insulation
- Ease of daily operation
- Child- and pet-friendly operating options
- Motorization and automation
- Fabric fullness for custom drapery
- Light gaps and coverage
- Maintenance requirements
- Residential or commercial performance needs
This conversation helps narrow the choices to treatments that suit both the windows and your daily routine.
Precise Measurements for a Custom Fit
After you choose a product, the windows must be measured carefully. Professional measuring involves more than recording a single width and height.
For an inside-mounted blind or shade, the specialist may measure the width at multiple points because the sides of the window opening may not be perfectly parallel. The height may also be measured in more than one location. The specialist will check whether the opening is deep enough for the selected headrail, brackets, or cassette.
For outside-mounted treatments, the measurements must provide appropriate coverage beyond the window opening. This can help reduce light gaps, increase privacy, or visually change the apparent size of the window. The available wall or trim surface must also be suitable for mounting.
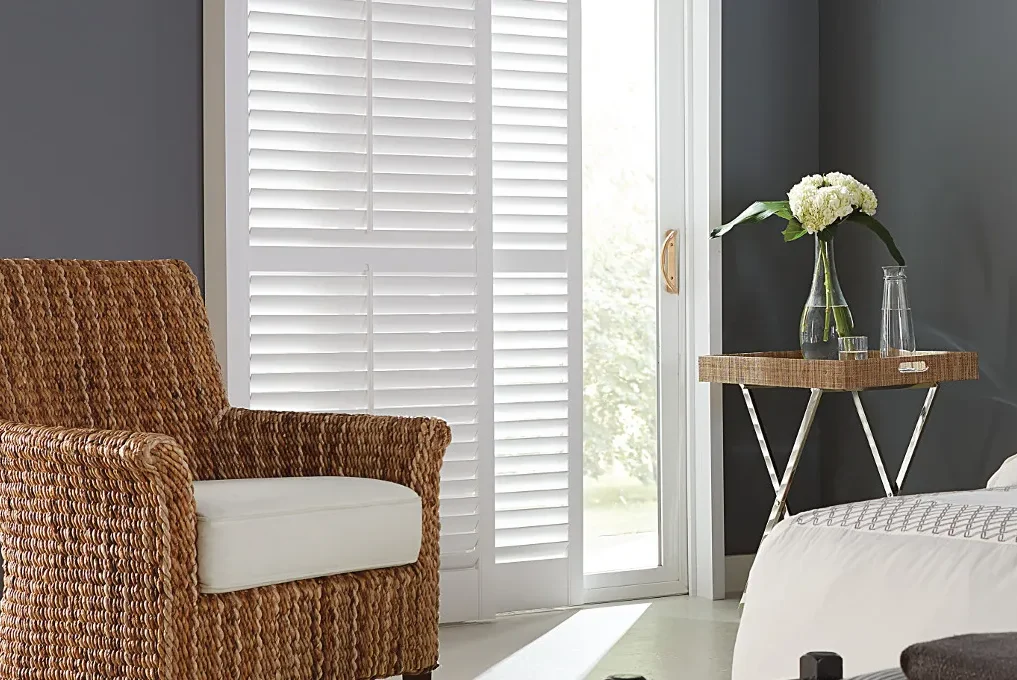
Shutters require particularly detailed measurements because the frame must be configured for the window opening and its surrounding trim. Drapery projects may require calculations for rod placement, stack-back space, finished length, fullness, returns, and the position of brackets or supports.
Motorized window treatments add another layer of planning. The specialist may need to confirm where motors, batteries, charging ports, wiring, hubs, or controls will be located.
Accurate measurements allow the manufacturer to create products that are properly sized for their assigned windows.
What Happens After Your Order Is Placed?
Once the product specifications and measurements are confirmed, the order is submitted for manufacturing. Custom blinds, shades, shutters, and drapery are made according to the dimensions, materials, finishes, and operating options you selected.
The amount of time required can vary based on the type of product, manufacturer, customization, and current production schedule. Some treatments have a relatively straightforward manufacturing process, while shutters, specialty drapery, oversized products, and certain motorized systems may take longer.
When the order is received, it should be checked before installation. This helps confirm that the products, hardware, colors, and dimensions correspond with the original order.
You will then be contacted to arrange an installation appointment. The scheduling conversation may include an estimated arrival window and information about how to prepare the rooms.
How to Prepare Your Manhasset Home for Installation
Most professional installations require only a modest amount of preparation. The main goal is to give the installer safe, unobstructed access to each window.
Before the appointment, move small items away from the windows. If possible, relocate furniture that blocks direct access, including chairs, side tables, desks, or lightweight seating. The installer needs enough room to position tools, use a ladder when necessary, and handle the treatment without striking nearby objects.
You may also want to:
- Clear the window sills
- Remove fragile objects from the immediate work area
- Secure pets in another room
- Make sure someone authorized to approve the completed work is present
- Identify every window included in the order
- Provide access to electrical outlets if motorized products are being installed
- Confirm access to offices, conference rooms, or restricted spaces in a commercial property
- Discuss whether existing treatments are being removed
Large furniture should not necessarily be moved without guidance, especially if it is difficult or unsafe to handle. If you are unsure what needs to be cleared, ask when the installation is scheduled.
Arrival and Initial Walk-Through
When the installer arrives, the appointment will often begin with a brief walk-through of the project. This gives the installer an opportunity to confirm where each treatment belongs and review any room-specific considerations.
Custom treatments may be labeled or organized according to window location. The installer will match the products with the measurements and specifications from the order.
This is also a good time to mention anything that has changed since the consultation. For example, furniture may have been repositioned, a window may have been repaired, or access to a particular area may have changed.
For larger residential projects, installations may be completed room by room. Commercial projects may be organized by office, floor, window grouping, or business operating schedule.
The initial walk-through helps keep the installation orderly and reduces the chance of a treatment being placed at the wrong window.
Removing Existing Window Treatments
If removal is included in the project, the installer may begin by taking down the existing blinds, shades, drapery hardware, or shutters.
Removal must be handled carefully to avoid unnecessary damage to the window frame, trim, or surrounding surface. Once the existing treatment is removed, the installer can examine the mounting area more closely.
Old holes may not align with the hardware for the new treatment. In many cases, new brackets must be positioned according to the dimensions and structural requirements of the custom product. The installer will determine the appropriate placement rather than assuming that the previous hardware can be reused.
You should clarify in advance whether removal and disposal of old window treatments are included. Depending on the arrangement, you may choose to keep the old products, have them placed in a designated area, or ask whether disposal is available.
Confirming the Mounting Location
Before drilling or attaching hardware, the installer will confirm where the new treatment needs to be positioned.
For an inside mount, the brackets are installed within the window opening. This creates a streamlined appearance, but it requires sufficient depth and an opening that can accommodate the product.
For an outside mount, the brackets may be secured to the trim or wall above and around the opening. Outside mounts can provide greater coverage and may be necessary when the window does not have enough mounting depth.
The installer will also check for obstacles such as:
- Window cranks
- Handles and locks
- Decorative trim
- Deep mullions
- Uneven surfaces
- Door hardware
- Alarm sensors
- Existing wiring
- Air vents near floor-length treatments
Mounting decisions should follow the specifications established during the consultation. Professional installation ensures those specifications are translated accurately into the finished placement.
Installing Blinds
Custom blinds require secure bracket placement so the headrail remains level and stable during operation. Depending on the width and weight of the blind, additional center supports may be needed.
Once the brackets are installed, the headrail is secured and the blind is tested. The installer will confirm that the slats tilt properly and that the blind raises, lowers, or traverses as intended.
If the blind includes a valance or decorative headrail cover, it is typically attached after the main unit is secured and tested. Hold-down brackets may also be used on certain doors or windows where the bottom rail needs additional stability.
A properly installed blind should:
- Sit level within or above the window
- Raise and lower smoothly
- Tilt consistently
- Avoid rubbing against the sides of the opening
- Remain secure during normal use
- Provide the expected window coverage
Even minor alignment problems can affect how a blind looks and operates, which is why careful bracket placement is so important.
Installing Shades
The exact installation process for a shade depends on its design. Roller shades, cellular shades, Roman shades, woven shades, solar shades, and other styles use different headrails, cassettes, brackets, and operating systems.
The installer will mount the hardware, attach the shade, and test its movement through the full range of operation. Cordless shades should lift evenly and stop where intended. Continuous-loop shades should move smoothly through the clutch mechanism. Motorized shades should respond reliably to their assigned controls.
The installer may also check the side gaps. Small gaps are normal for many inside-mounted shades because space is needed for the hardware and operating mechanism. If minimizing light gaps was a priority, the project may have been designed with an outside mount, overlapping treatments, side channels, or another coverage solution.
For rooms with multiple shades positioned close together, alignment becomes especially noticeable. The installer will work to keep the top treatments and bottom rails visually consistent.
Installing Custom Drapery
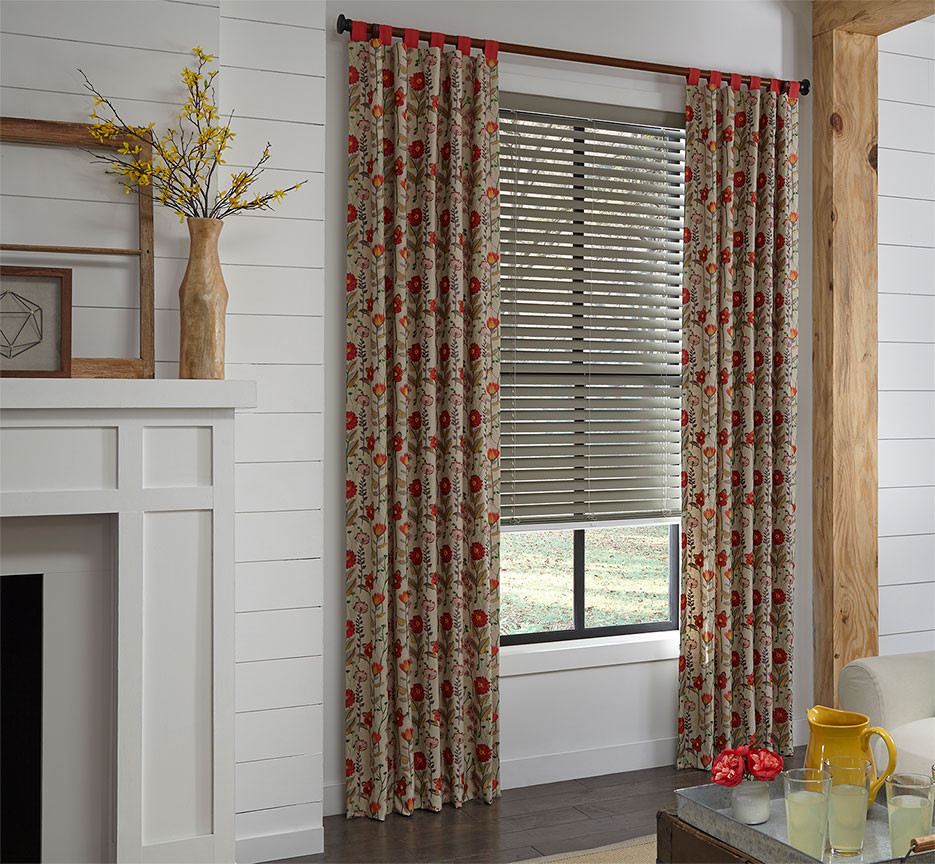
Custom drapery installation involves both technical accuracy and careful handling of the fabric. Rods, tracks, brackets, and supports must be placed at the correct height and spacing so the treatment hangs as designed.
The installer will consider the weight of the drapery and the strength of the mounting surface. Wide spans or heavier fabrics may require additional supports. If the treatment traverses, the installer will test the movement along the rod or track.
The drapery panels are then attached, arranged, and adjusted. Pleats or headings may need to be placed evenly. The installer may also confirm the finished relationship between the fabric and the floor, sill, or other intended endpoint.
Depending on the design, the project may include:
- Stationary side panels
- Functional traversing drapery
- Decorative rods
- Concealed tracks
- Motorized drapery tracks
- Layered treatments
- Returns that cover the side of the hardware
- Center-opening or one-way-draw configurations
Custom fabric treatments may have temporary folds or creases from packaging and transportation. These often relax as the fabric hangs. Your specialist can explain what to expect from the particular fabric and construction style you selected.
Installing Interior Shutters
Shutter installation requires precise alignment because the panels must open, close, and fit properly within their frame.
The installer may assemble or position the shutter frame first. The frame is leveled and secured before the panels are attached. Small adjustments may be needed to keep the reveals even and ensure that the panels operate without dragging or binding.
After the panels are installed, the installer will test:
- Panel movement
- Louver rotation
- Divider rail alignment
- Magnets or catches
- Hinges
- Panel closure
- Clearance around handles and locks
Windows are not always perfectly square. Professional shutter installation allows the installer to make careful adjustments that improve alignment while preserving the intended appearance.
Because shutters are substantial products, secure attachment is essential. The installer will use the appropriate mounting approach for the shutter style, frame configuration, and window conditions.
Installing Motorized Window Treatments
Motorized window treatments add convenience and can be especially valuable for large, tall, hard-to-reach, or frequently adjusted windows. They can also support coordinated operation across multiple treatments in residential and commercial spaces.
Installation begins with securing the treatment just as it would with a manually operated product. The installer then addresses the power source and control system.
Depending on the selected system, the treatment may use:
- Replaceable batteries
- Rechargeable batteries
- Plug-in power
- Low-voltage wiring
- Hardwired power
- Handheld remotes
- Wall-mounted controls
- App-based controls
- Compatible smart-home integrations
The installer may pair individual treatments with a remote or assign several treatments to groups. For example, a remote might control one shade independently, all shades in a room, or a selected group of windows.
Upper and lower limits may also need to be programmed. These limits tell the motor where to stop when the treatment opens or closes. Correct programming protects the product and creates consistent positioning.
Before finishing, the installer should demonstrate the control system and explain battery charging or replacement requirements. If an app, hub, or outside smart-home platform is involved, the extent of setup assistance may depend on the system and the project agreement.
Commercial Window Treatment Installation
Professional installation is equally important for offices, retail spaces, conference rooms, hospitality environments, and other commercial properties in and around Manhasset.
Commercial projects may include a large number of windows, repeated product specifications, oversized treatments, solar control requirements, or motorized group operation. Scheduling may also need to account for business hours, employee access, customer traffic, and restricted work areas.
Before installation, the project team may coordinate:
- Access to the property
- Installation timing
- Parking or loading requirements
- Building management rules
- Elevator access
- Power availability
- Workspace protection
- Treatment placement by room or window number
- Motorized control assignments
- Final approval procedures
Organized planning helps minimize interruptions while ensuring that each product is installed in the correct location.
How Long Does Installation Take?
Installation time varies considerably from one project to another. A small number of straightforward blinds or shades may be completed relatively quickly, while a whole-home project can require several hours or more.
Factors that influence installation time include:
- The number of windows
- The type of treatments
- Window size and height
- Access to each opening
- Mounting surface conditions
- Removal of existing products
- The complexity of drapery hardware
- Shutter frame assembly and adjustment
- Motor programming
- Commercial access requirements
- Oversized or specialty-shaped windows
It is helpful to keep the installation window reasonably flexible. The installer should work carefully rather than rushing through bracket placement, leveling, adjustments, or product testing.
If a project is especially large, installation may be scheduled in stages. Your window treatment specialist can provide a more specific expectation after reviewing the order.
Final Adjustments and Quality Checks
Once each treatment is installed, the installer will inspect and operate it. This is an essential part of the process because it confirms that the product is secure and functioning correctly.
Quality checks may include:
- Confirming that headrails, rods, tracks, and frames are level
- Raising and lowering treatments
- Tilting blind slats or shutter louvers
- Opening and closing drapery panels
- Testing cordless operation
- Checking tensioned or continuous-loop controls
- Programming motor limits
- Pairing remotes
- Testing grouped motorized commands
- Inspecting alignment across adjacent windows
- Confirming appropriate clearance from handles and locks
- Making minor hardware adjustments
If a product does not operate as expected, the installer can identify whether it needs an adjustment, replacement component, or manufacturer review.
Learning How to Operate Your New Treatments
Before the installation appointment ends, ask for a demonstration of every operating system included in the project.
Even familiar-looking products may function differently from older window treatments. Cordless blinds and shades, for example, can have different lifting methods. Some are raised by gently moving the bottom rail, while others use a handle or motorized control.
The installer can show you:
- How to raise, lower, tilt, open, or close each treatment
- Where to hold the treatment during operation
- How to use remotes and wall controls
- How treatment groups are assigned
- How to charge or replace batteries
- How to avoid straining the operating mechanism
- What normal movement and sound should be expected
- How to contact the company if a concern develops
Operate the products yourself while the installer is present. This gives you a chance to ask questions and become comfortable with the controls.
Care and Maintenance Guidance
Different window treatments have different care requirements. Following the recommended cleaning and operation instructions helps protect the materials and mechanisms.
Routine care may include light dusting, gentle vacuuming with an appropriate attachment, or using a clean microfiber cloth. However, care methods vary by material. Wood blinds, fabric shades, solar fabrics, shutters, and custom drapery should not automatically be cleaned in the same way.
Avoid applying harsh household cleaners unless the manufacturer specifically approves them. Excess moisture, scrubbing, heat, or unsupported cleaning methods can affect fabrics, finishes, adhesives, and internal components.
Motorized products may also require periodic battery charging or replacement. Ask how to recognize a low battery and how often charging is typically needed under normal use.
Professional guidance is particularly helpful for custom drapery or specialty fabrics that may require professional cleaning.
What If a Product Needs Attention After Installation?
Custom window treatments are built to order, and occasionally a product may require additional attention after the initial installation. A component could arrive damaged, a material could have a manufacturing issue, or an adjustment may not become apparent until the treatment has been used several times.
If you notice a problem, contact your window treatment provider rather than attempting a major repair yourself. Provide a description of what is happening and, when helpful, photos or a short video.
Examples of concerns worth reporting include:
- A treatment that does not stay in position
- Uneven raising or lowering
- Unusual motor behavior
- A remote that no longer controls the assigned treatment
- A shutter panel that rubs or does not close correctly
- Drapery that does not traverse smoothly
- Loose hardware
- A blind that tilts inconsistently
- Visible material or manufacturing defects
Some concerns can be resolved through a simple adjustment, while others may involve a replacement component or warranty request. Prompt communication helps the provider determine the appropriate next step.
Why Professional Installation Is Worthwhile
Custom window treatments are expected to perform for years, so installation should not be treated as an afterthought. Even a high-quality product can operate poorly if its brackets are misaligned, its support is insufficient, or its motor limits are programmed incorrectly.
Professional installation offers several important advantages:
Correct Placement
The installer follows the measurements and mounting plan established for each window. This is especially important when treatments differ slightly between rooms.
Secure Mounting
Blinds, shades, shutters, drapery hardware, and motorized products vary in weight. Professional installers understand where supports are needed and how hardware should be positioned.
Smoother Operation
Level, properly spaced hardware allows the product to move as intended. This reduces avoidable friction and strain on operating components.
Careful Product Handling
Custom treatments can be large, heavy, or delicate. Installers are accustomed to handling fabrics, headrails, shutter panels, and long pieces of hardware safely.
Accurate Motorized Setup
Motor pairing, limit setting, charging access, and control assignments require attention to detail. Professional setup helps make motorized products easier to use from the beginning.
A Finished, Coordinated Appearance
Alignment is particularly important when several windows are positioned side by side. Professional installation helps create consistent heights, spacing, and coverage.
Common Questions To Ask So You Know What to Expect During Professional Window Treatment Installation in Manhasset
Before installation day, you may want to confirm a few details with your window treatment specialist:
- Is removal of the existing treatments included?
- Will old products and hardware be disposed of?
- How much space should be cleared around each window?
- Does an adult need to remain at the property?
- How long is the appointment expected to take?
- Will motorized treatments be paired and programmed?
- Are app or smart-home setup services included?
- What should I do if I notice a concern afterward?
- What care instructions apply to my products?
- What warranty information should I retain?
Getting these answers ahead of time allows you to prepare properly and understand the scope of the appointment.
A Smooth Finish for Your Manhasset Window Treatment Project
Professional installation is the final step that turns carefully selected materials and precise measurements into fully functioning window treatments. From securing a simple shade to aligning shutter panels or programming a group of motorized treatments, every detail contributes to the final result.
When the installation is complete, your treatments should look properly positioned, operate smoothly, and provide the privacy, light control, insulation, glare reduction, or convenience you selected them to deliver. You should also understand how to operate and care for them confidently.
East Coast Window Fashions provides custom blinds, shades, drapery, shutters, and motorized window treatment solutions for residential and commercial properties throughout Manhasset, Long Island, and the surrounding areas.
To begin planning your project, schedule a complimentary in-home consultation with East Coast Window Fashions and receive a customized quote. Call (631) 513-5499 or email jeanine.ecwf@gmail.com to get started.
No responses yet